Understanding Drywall Taping: A Crucial Step in Finishing
When it comes to achieving a seamless and polished finish for your walls and ceilings, drywall taping plays a pivotal role. This essential step in the drywall installation process ensures that joints, corners, and fastener indentations are properly concealed and smoothed out, creating a uniform surface ready for painting or wallpapering. Let's delve into what drywall taping involves and why it's crucial for achieving professional-looking results.
1. Preparation:
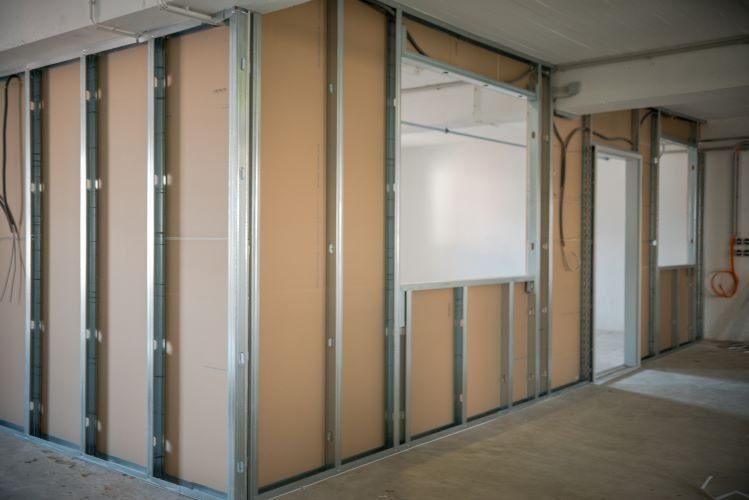
Before beginning the taping process, it's essential to prepare the drywall surfaces properly. This involves ensuring that the drywall sheets are installed correctly, with minimal gaps between them, and that any fasteners or screws are countersunk below the surface. Additionally, the drywall should be free from dust, debris, and any imperfections that could affect the taping process.
2. Applying Joint Compound:
The first step in drywall taping is applying joint compound, also known as mud, over the joints between drywall sheets, as well as over screws or nails used to secure the drywall to the framing. Joint compound is spread evenly over the joints using a taping knife, ensuring that it fills any gaps or depressions and covers the fasteners completely.
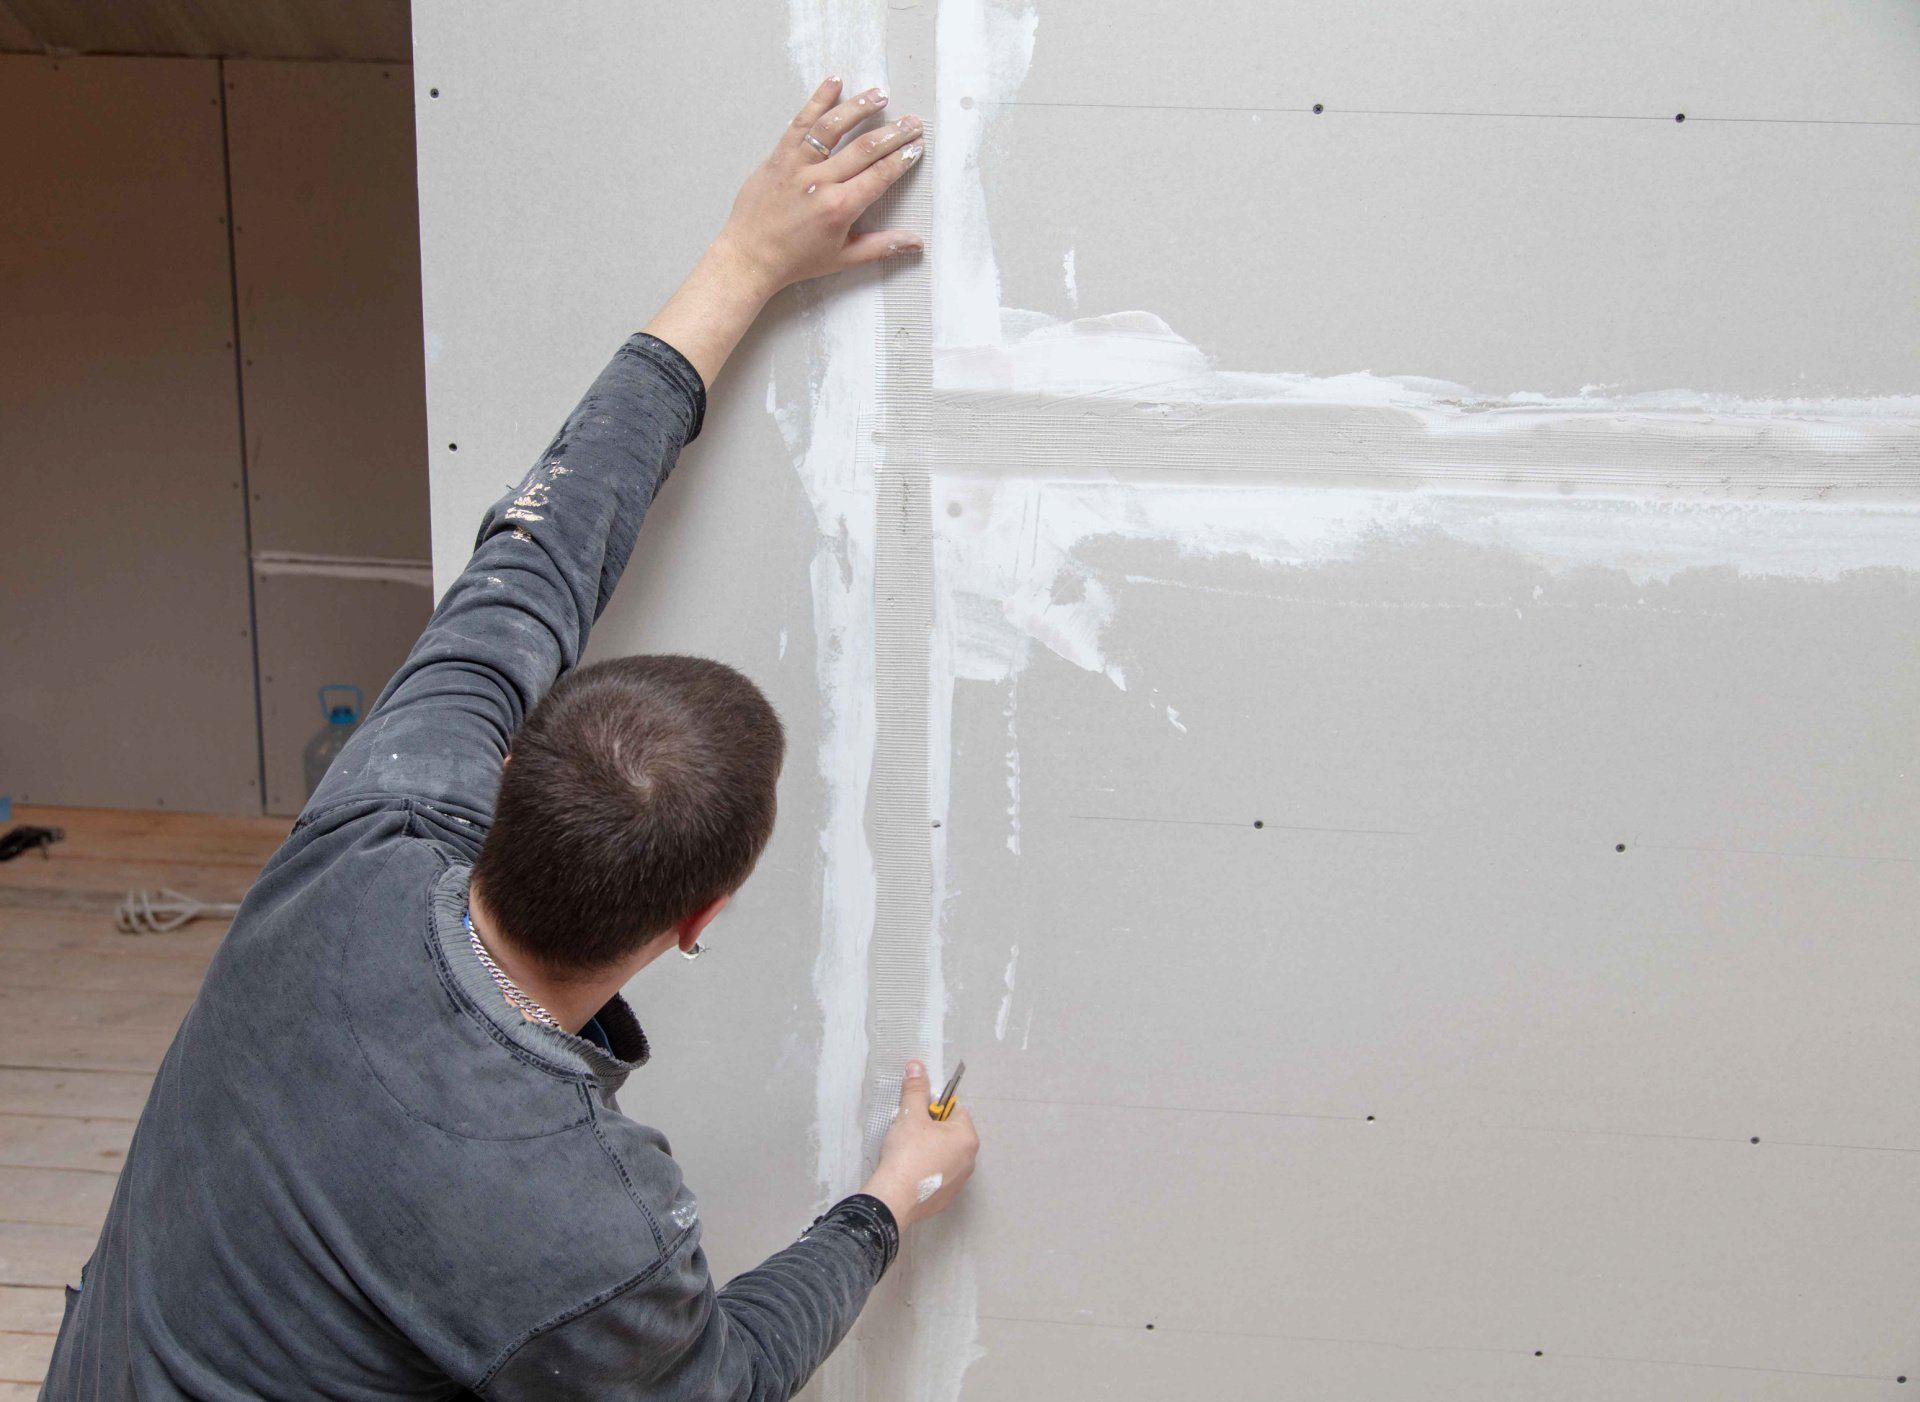
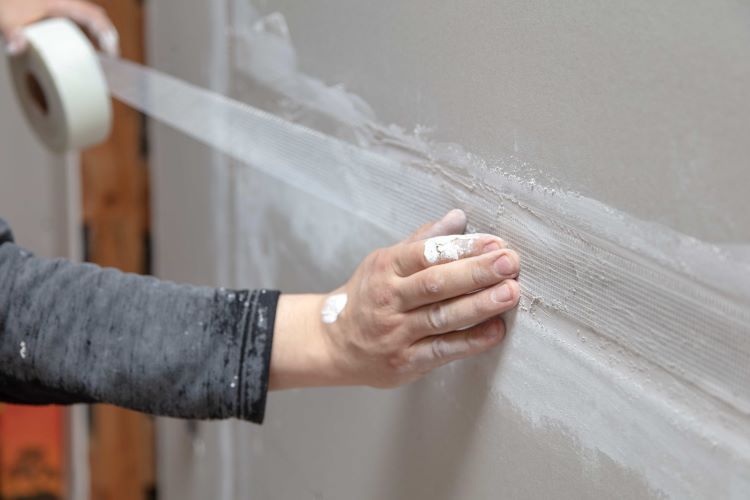
3. Embedding Tape:
Once the joint compound is applied, paper or fiberglass mesh tape is embedded into the wet compound along the length of the joint. This tape reinforces the joint, preventing cracks or separation between drywall sheets. The tape is smoothed out with a taping knife to remove any air bubbles or wrinkles and ensure proper adhesion to the joint compound.
4. Second Coat of Joint Compound:
After the tape is embedded, a second coat of joint compound is applied over the tape to cover it completely and create a smooth, seamless surface. This coat is applied wider than the first coat, feathering the edges to blend with the surrounding drywall and minimize the appearance of seams.
5. Feathering and Sanding:
Once the second coat of joint compound is dry, the surface is smoothed out by feathering the edges with a taping knife to create a gradual transition between the taped areas and the rest of the drywall. Any imperfections or high spots are then sanded down using fine-grit sandpaper, resulting in a smooth and even surface ready for painting or texture application.
6. Final Touches:
After sanding, a final coat of joint compound may be applied to fill in any remaining imperfections or to further smooth out the surface. Once dry, the surface is inspected for quality, and any necessary touch-ups or spot sanding is performed before proceeding to the finishing stage.
Conclusion:
Drywall taping is a meticulous process that requires skill, patience, and attention to detail. By properly taping and finishing drywall joints, corners, and fasteners, Calgary Drywallers ensures that your walls and ceilings have a professional-looking finish that enhances the overall aesthetics of your space. Contact us today to learn more about our drywall taping services and how we can help you achieve the perfect finish for your project.
You might also like

Request A Free Estimate!
We will get back to you as soon as possible.
Please try again later.
Calgary Drywallers
Navigation
Navigation
Working hours
- Mon - Fri
- -
- Sat - Sun
- Appointment Only
*This is a referral website. All work is performed by professional, licensed contractors.