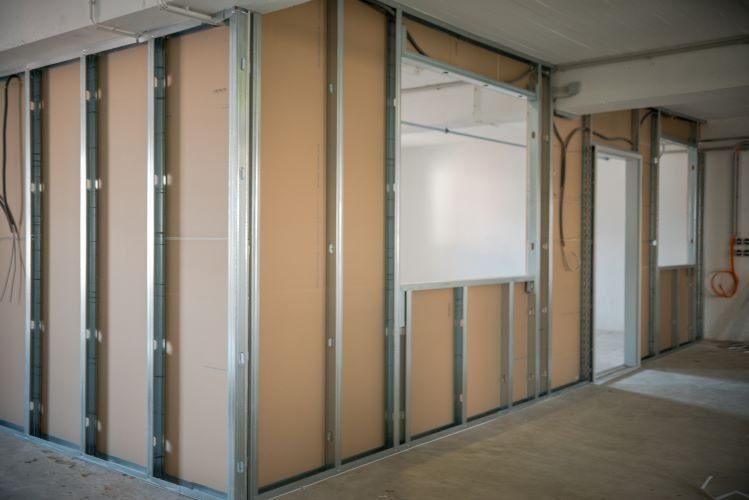
How to Tape Large Drywall Seams Without Errors

Drywall taping can be a daunting task, especially when dealing with large seams. Large seams require extra attention and precision to ensure a flawless, professional finish. At Calgary Drywallers, we specialize in helping homeowners and contractors achieve perfect results, whether you’re tackling a DIY project or need professional assistance. Here’s a step-by-step guide to taping large drywall seams without errors.
Step 1: Gather the Right Tools and Materials
Before you begin, ensure you have the following tools and materials on hand:
- Drywall tape: Choose between paper tape or mesh tape. Paper tape is stronger but requires more skill to apply, while mesh tape is self-adhesive and easier for beginners.
- Joint compound (mud): Lightweight or all-purpose joint compound works best.
- Taping knives: A 6-inch knife for initial application and a 10- or 12-inch knife for smoothing.
- Mud pan: For holding joint compound during application.
- Sanding block or drywall sander: For a smooth finish after the compound dries.
Step 2: Prepare the Seam
Preparation is key to successful drywall taping.
- Clean the seam: Remove dust, debris, and any loose drywall particles from the seam.
- Check for gaps: For large gaps (wider than 1/4 inch), fill with joint compound first and allow it to dry before taping.
- Prime the surface: Lightly apply a thin coat of joint compound to create a base for the tape to adhere to.
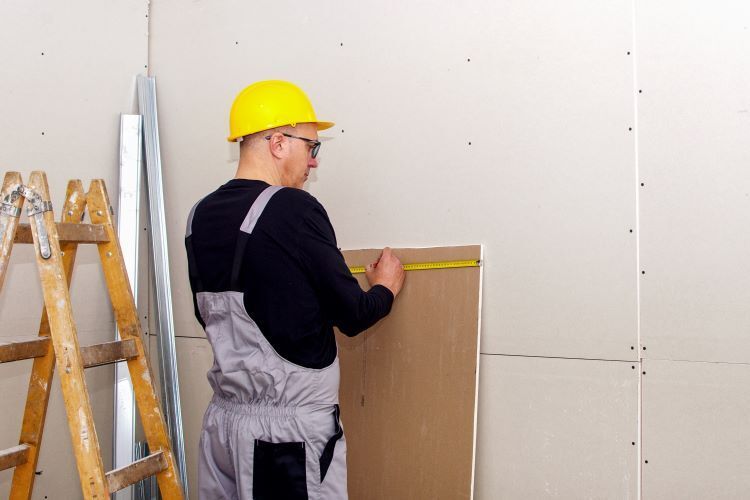
Step 3: Apply the Drywall Tape
- Cut the tape: Measure and cut a length of tape that fits the seam.
- Place the tape: For paper tape, embed it into the wet compound you applied during priming. For mesh tape, simply stick it directly to the seam.
- Smooth the tape: Use your 6-inch taping knife to flatten the tape and remove excess compound, ensuring no bubbles or wrinkles are present.
Step 4: Apply the First Coat of Joint Compound
- Spread the compound: Using your 6-inch knife, apply a thin layer of joint compound over the tape.
- Feather the edges: Extend the compound slightly beyond the edges of the tape to create a seamless blend with the drywall.
- Inspect for bubbles: Smooth out any air bubbles or irregularities.
Allow this first coat to dry completely, typically 24 hours.
Step 5: Apply Additional Coats
- Switch to a wider knife: Use a 10- or 12-inch taping knife for subsequent coats to feather the compound further out.
- Build up the seam: Apply two or three thin coats, letting each layer dry before applying the next.
- Sand between coats: Lightly sand each layer to remove ridges and ensure smoothness.
Step 6: Finish and Sand
Once the final coat is dry:
- Sand the seam: Use a sanding block or drywall sander to create a perfectly smooth surface.
- Inspect your work: Run your hand along the seam to check for any uneven areas or rough spots.
- Clean up: Wipe away dust with a damp cloth.
Pro Tips for Large Drywall Seams
- Work in manageable sections: Focus on one part of the seam at a time to avoid rushing.
- Keep your tools clean: Regularly clean your knives and mud pan to prevent dried compound from ruining your work.
- Use proper lighting: Good lighting will help you spot imperfections as you work.
- Be patient: Allow each coat to dry completely before sanding or applying the next layer.
When to Call the Pros
Large drywall seams can be challenging, especially for beginners. If you’re unsure about tackling the task yourself or want a flawless finish, Calgary Drywallers is here to help. Our team of experts has years of experience handling all types of drywall projects, ensuring a professional result every time.
Contact Calgary Drywallers today for expert drywall taping services and make your walls look as seamless as possible!
You might also like