How to Seamlessly Blend Drywall Patches with Existing Walls
Drywall repair can be a daunting task, especially when the goal is to make the patch blend seamlessly with the existing walls. At Calgary Drywallers, we understand the importance of achieving a smooth, uniform finish that makes the repair virtually invisible. Whether you're dealing with holes, cracks, or dents, here’s a step-by-step guide to help you blend drywall patches with your existing walls.
Step 1: Gather Your Materials
Before you start, ensure you have all the necessary materials:
- Drywall patch or new drywall piece
- Drywall saw
- Utility knife
- Drywall screws
- Screwdriver or drill
- Joint compound (mud)
- Drywall tape
- Sanding sponge or sandpaper (medium and fine grit)
- Putty knife
- Primer and paint
Step 2: Prepare the Area
Start by cleaning the area around the damage. Remove any loose debris or peeling paint. Cut a clean, rectangular or square hole around the damaged area using a drywall saw. This makes it easier to fit the patch.
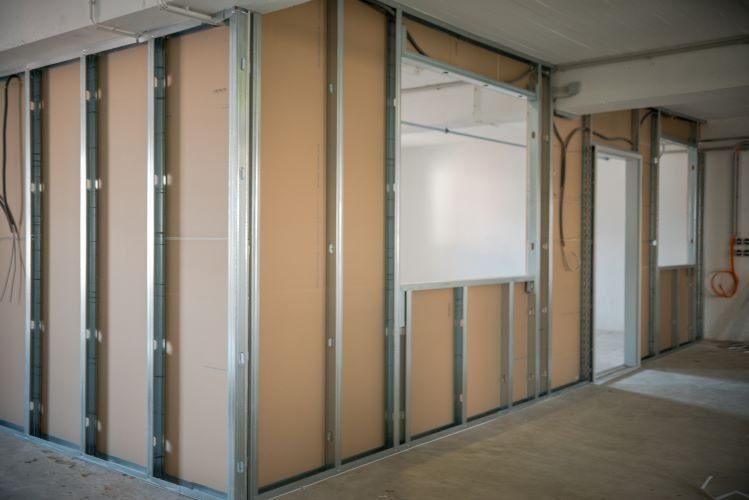
Step 3: Cut and Secure the Patch
Cut a piece of drywall to fit the hole you’ve prepared. Ensure it fits snugly without forcing it in. Secure the patch to the studs using drywall screws. Be careful not to over-tighten, as this can damage the drywall.
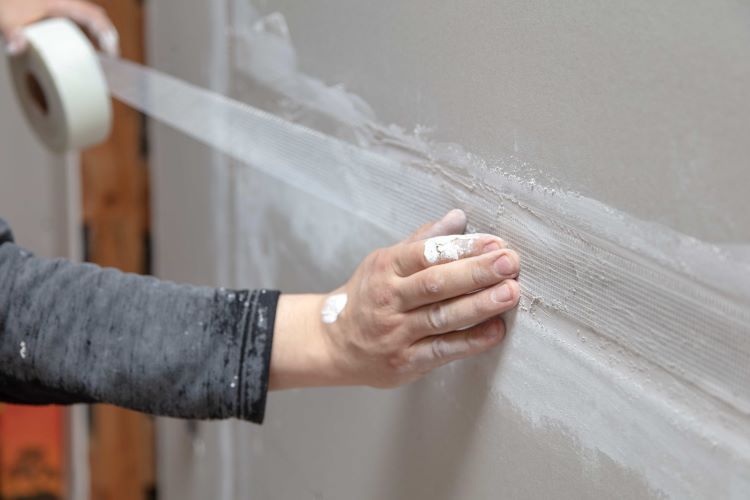
Step 4: Apply Drywall Tape
Place drywall tape over the seams where the patch meets the existing wall. This helps to reinforce the joint and prevent cracks.
Step 5: Apply Joint Compound
Using a putty knife, apply a layer of joint compound over the tape and seams. Spread it evenly and feather the edges out to blend with the surrounding wall. Let the first coat dry completely, which typically takes 24 hours.
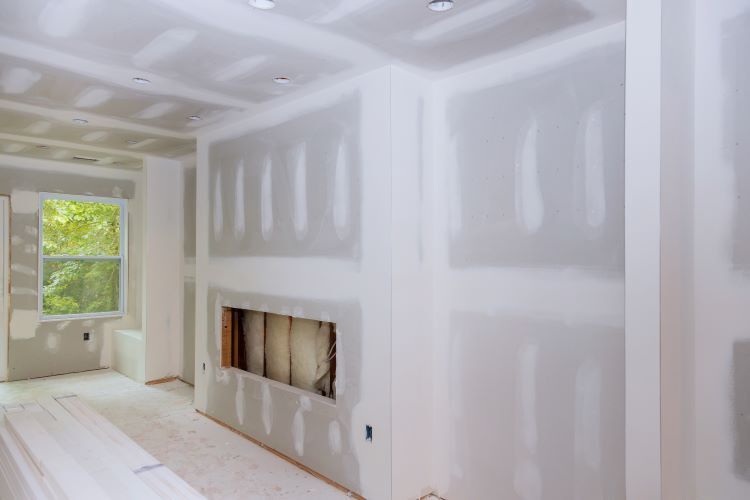
Step 6: Sand and Apply Additional Coats
Once the first coat is dry, sand the area lightly with medium-grit sandpaper to remove any ridges or bumps. Apply a second coat of joint compound, extending it further out from the seams to blend it even better with the wall. Repeat the drying, sanding, and additional coats (usually three coats in total) until the surface is smooth and level with the existing wall.
Step 7: Final Sanding
After the final coat is dry, sand the area with fine-grit sandpaper to achieve a smooth finish. Be sure to feather the edges to make the transition between the patch and the existing wall seamless.
Step 8: Clean and Prime
Wipe down the repaired area to remove any dust from sanding. Apply a coat of primer to the patched area. Primer helps the paint adhere better and creates a uniform surface for painting.
Step 9: Paint
Once the primer is dry, paint the patched area to match the rest of the wall. For the best results, use the same paint that was originally used on the wall. You may need to paint the entire wall to ensure a perfect match, as paint colors can fade over time.
Expert Tips for a Seamless Finish
- Feather the Edges: When applying joint compound, always feather the edges. This means spreading the compound thinner as you move away from the patch to blend it with the surrounding wall.
- Use Thin Coats: Apply multiple thin coats of joint compound rather than one thick coat. This helps to avoid lumps and ensures a smoother finish.
- Patience is Key: Allow each coat of joint compound to dry completely before sanding and applying the next coat. Rushing the process can lead to a less smooth finish.
- Match the Texture: If your existing wall has a texture, try to match it on the patch. This may involve using a special brush or roller to replicate the texture before painting.
Conclusion
Blending drywall patches with existing walls can be challenging, but with the right approach and materials, you can achieve a seamless finish.
At Calgary Drywallers, we have the expertise and experience to handle all your drywall repair needs, ensuring a professional and flawless result. If you need assistance with drywall repairs or any other drywall-related services, contact us today. We’re here to help you maintain the beauty and integrity of your home.
You might also like